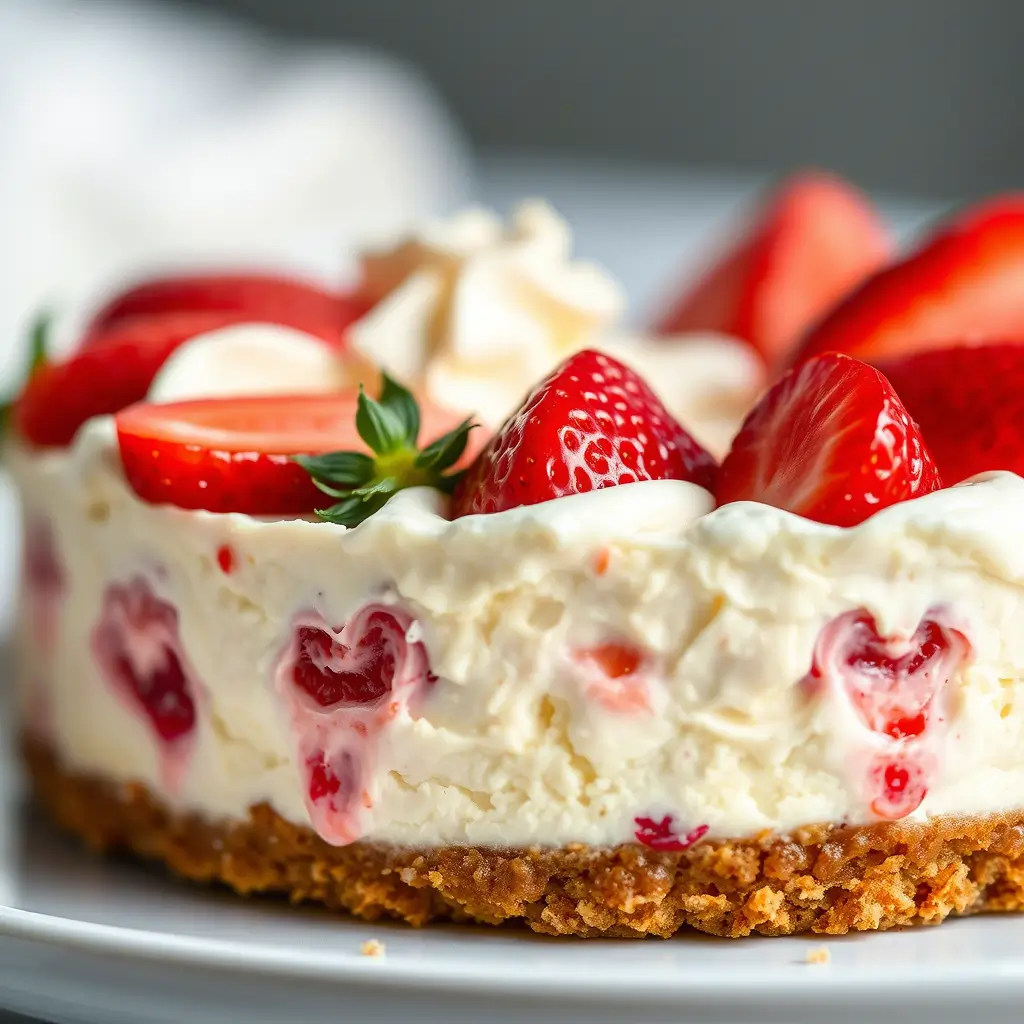
If you’re looking for the perfect no-bake banana split dessert that’s easy, refreshing, and guaranteed to impress, this layered treat is exactly what you need. Made with a buttery graham cracker crust, a smooth and creamy filling, and fresh fruit like bananas, strawberries, and pineapple, this dessert delivers classic banana split flavors in every bite—without ever turning on the oven. It’s one of the best easy summer desserts for hot days, ideal for family gatherings, potlucks, or quick weeknight treats. With simple ingredients and minimal prep, this no-bake dessert recipe is a must-have for anyone who loves light, fruity, and crowd-pleasing sweets.
⭐ Why You’ll Love This Recipe
This no-bake banana split dessert is a refreshing, crowd-pleasing treat that layers a buttery graham cracker crust with a creamy filling and fresh fruit. It’s perfect for summer gatherings, potlucks, or anytime you want a sweet dessert without turning on the oven. Each bite delivers a mix of crunchy, creamy, and fruity flavors that everyone will love.
🧾 Ingredients
For the Crust
- 2 cups graham cracker crumbs (about 32 squares)
- 1/2 cup butter, melted
- 1/4 cup granulated sugar
For the Filling
- 1/2 cup butter, softened
- 2 cups confectioners’ sugar
- 1 tablespoon milk
- 1 teaspoon vanilla extract
- 3 large firm bananas, sliced (about 1/4-inch thick)
- 2 (8-ounce) cans crushed pineapple, well drained
- 2 quarts fresh strawberries, sliced
For the Topping
- 2 cups whipped topping (such as Cool Whip)
- 1 1/2 cups chopped walnuts
🥄 Directions
Step 1: Prepare the Crust
In a medium bowl, combine the graham cracker crumbs, melted butter, and sugar. Stir until the mixture is evenly moistened. Press firmly into the bottom of an ungreased 13×9-inch dish to form an even crust layer. Refrigerate for at least 1 hour to set.
Step 2: Make the Cream Layer
In a large mixing bowl, beat the softened butter until smooth. Gradually add the confectioners’ sugar, then mix in the milk and vanilla extract. Beat until the mixture is light, creamy, and spreadable.
Spread the filling evenly over the chilled crust. Return to the refrigerator and chill for another 30 minutes.
Step 3: Add the Fruit Layers
Arrange the sliced bananas evenly over the cream layer.
Next, spread the drained crushed pineapple over the bananas.
Top with an even layer of sliced strawberries.
Step 4: Finish with Topping
Gently spread the whipped topping over the fruit layer, making sure to cover completely. Sprinkle the chopped walnuts evenly over the top.
Step 5: Chill and Serve
Refrigerate for at least 2–4 hours before serving to allow the layers to set. For best results, chill overnight.
Cut into squares and serve cold.
💡 Tips for Best Results
- Make sure the pineapple is well drained to prevent a soggy dessert
- Use firm bananas to keep slices intact
- Chill long enough for clean, neat slices
- Toast the walnuts for extra flavor
🔄 Variations
- Add chocolate drizzle or chocolate chips for a richer dessert
- Swap walnuts for pecans or omit for a nut-free version
- Use whipped cream instead of Cool Whip for a homemade touch
🧊 Storage
Store covered in the refrigerator for up to 3 days. Best enjoyed fresh.
Recommended Sources:
- Local Harvest – For fresh, organic strawberries
- King Arthur Baking – For quality graham crackers and baking ingredients
- Thrive Market – Great for organic pantry staples and natural whipped toppings
Final Thoughts and Serving Suggestions
No-Bake Strawberry Split Cake is more than just a dessert, it’s a celebration of flavor and texture without the stress of traditional baking. Its effortless charm and delightful appearance make it a go-to recipe for novice cooks and seasoned bakers alike.
Serve it chilled with a dollop of whipped cream and a sprig of mint for an elegant finish. Pair it with a light rosé or sparkling lemonade to elevate your dessert experience.
This cake is proof that a little creativity, a few fresh ingredients, and a refrigerator can result in an unforgettable dessert.
Let this no-bake wonder become your new signature treat.
