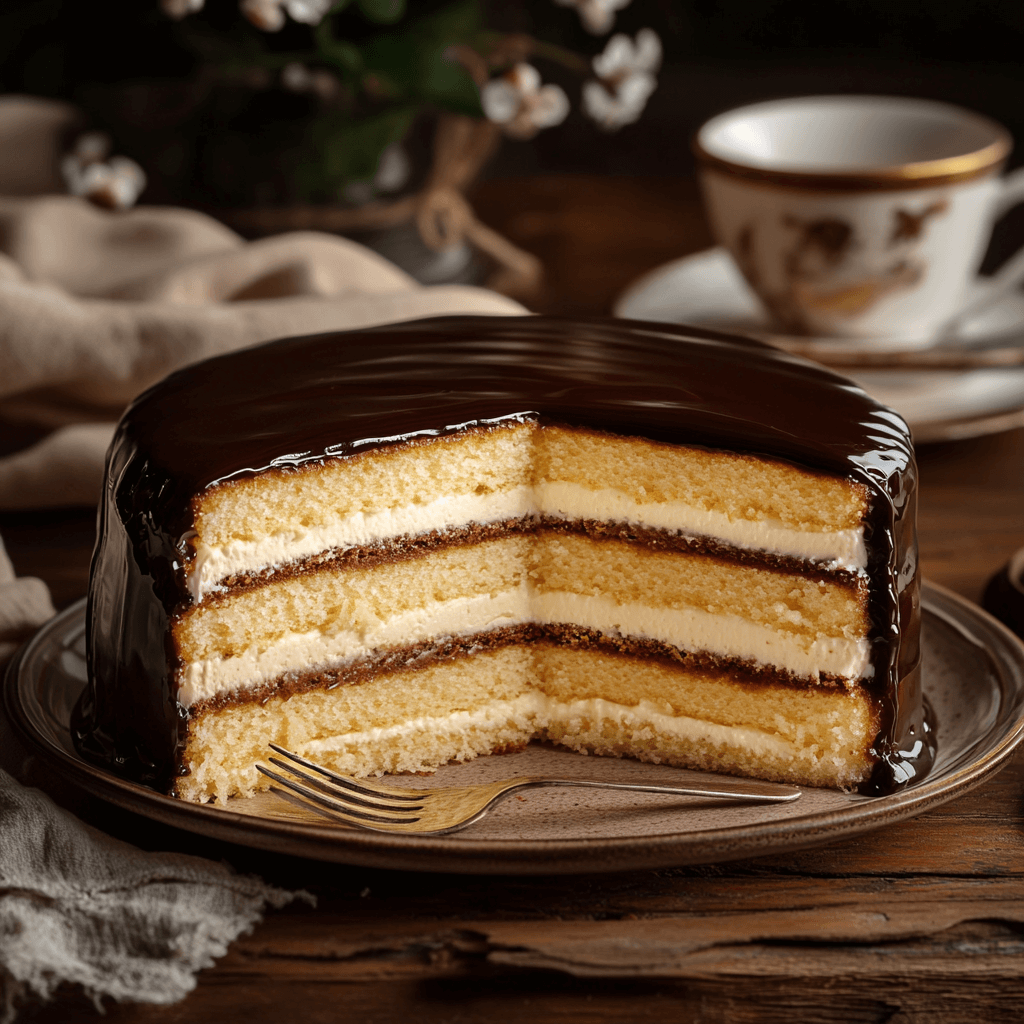
Few desserts capture the essence of indulgence quite like the Boston Cream Cake. Not only is it a masterpiece of soft sponge cake, luscious custard filling, and velvety chocolate ganache, but it’s also surprisingly achievable for home bakers.
Although it might seem like a bakery-exclusive delight, this guide simplifies the process so anyone can enjoy this dessert at home. So, let’s dive into the details and transform your kitchen into a dessert haven.
What is a Boston Cream Cake?
A Brief HistoryThe Boston Cream Cake traces its origins back to the late 19th century in Boston, Massachusetts. Inspired by the concept of custard-filled pies and cakes, it soon became a signature dessert of the region. Interestingly, it is often referred to as Boston Cream Pie. This is because, during that era, pies and cakes were baked in similar tins, leading to overlapping terminology.
What Makes It Special?
Boston Cream Cake stands out for three primary reasons:
Tender Sponge Layers: The light yet sturdy base holds everything together beautifully.
Velvety Custard Filling: This rich, creamy layer adds a delightful contrast to the sponge.
Decadent Ganache Topping: A glossy chocolate ganache not only completes the cake but also makes each bite indulgent. Together, these elements create a dessert that is both elegant and comforting.
Ingredients:
Cake Layers
- 2 cups all-purpose flour
- 2 ½ teaspoons baking powder
- ¼ teaspoon salt
- ½ cup unsalted butter, softened
- 1 cup granulated sugar
- 3 large eggs
- 1 teaspoon vanilla extract
- ¾ cup whole milk
Custard Filling
- 2 cups whole milk
- 4 large egg yolks
- ½ cup granulated sugar
- ¼ cup cornstarch
- 1 teaspoon vanilla extract
Chocolate Ganache
- 1 cup semi-sweet or dark chocolate chips
- ¾ cup heavy cream
Ingredients OverviewCake LayersTo start, the cake layers require basic yet crucial ingredients:
- Flour: All-purpose flour gives the structure needed.
- Baking Powder: This ensures the cake rises properly during baking.
- Eggs and Butter: These add richness and a tender crumb to the layers.Sugar: Sweetness aside, it helps create a golden crust.
- Milk: Whole milk is ideal for a creamy texture.
- Egg Yolks: These lend richness and a sunny yellow color.
- Cornstarch: It thickens the custard to perfection.
- Vanilla Extract: Finally, it enhances the overall flavor profile.
- Chocolate Chips: Opt for semi-sweet or dark chocolate to balance sweetness.
- Heavy Cream: This makes the ganache smooth and pourable.
- Mixing Bowls: Use separate bowls for wet and dry ingredients.
- Hand or Stand Mixer: This will save time during the creaming process.
- Cake Pans: Two 9-inch round pans work best for even layers.
- Whisk and Saucepan: These are essential for preparing the custard.
- Offset Spatula: Perfect for spreading ganache evenly over the cake.
Preheat and Prepare Pans: First, preheat your oven to 350°F (175°C). Grease and line two 9-inch cake pans with parchment paper.
Mix Dry Ingredients: Next, in a medium bowl, whisk together flour, baking powder, and a pinch of salt.
Cream Butter and Sugar: Then, using a mixer, beat softened butter and sugar until the mixture is light and fluffy.
Add Wet Ingredients: Gradually add eggs one at a time, followed by vanilla extract. This ensures even mixing.
Combine and Bake: Alternately add the dry ingredients and milk to the mixture. Once combined, pour the batter into pans and bake for 25–30 minutes, or until a toothpick comes out clean. Cool completely before proceeding.Making the Custard Filling
Heat Milk: First, warm milk over medium heat in a saucepan. Be careful not to let it boil.
Whisk Yolks and Sugar: In a separate bowl, whisk egg yolks, sugar, and cornstarch until smooth.
Temper the Eggs: Slowly add a ladle of warm milk to the egg mixture while whisking constantly. This step prevents curdling.
Cook Until Thickened: Return the mixture to the saucepan and cook over low heat. Stir continuously until thickened. Finally, strain through a sieve and cool completely.Creating the Chocolate Ganache.
Heat Cream: Bring heavy cream to a simmer, ensuring it doesn’t boil.
Melt Chocolate: Pour the hot cream over chocolate chips and let it sit for a minute. Then stir until the ganache is smooth and glossy.Assembling the Cake
Layer the Cake: Place one cake layer on a serving plate. Spread the custard filling evenly across the surface.
Top and Finish: Add the second layer on top, then pour the ganache over it. Allow it to drip naturally down the sides for a polished look. Chill for 1–2 hours before serving.Tips for Perfecting Your Boston Cream Cake.
Light Sponge Layers: To achieve an airy texture, use room-temperature ingredients.
Silky Custard: Always strain the custard to remove any lumps.
Ganache Gloss: Let the ganache cool slightly before pouring to prevent it from running off too quickly.Additionally, patience is key—chilling the cake enhances its flavors. Creative VariationsQuick and Easy with Cake MixFor a faster option, use a yellow cake mix. Simply prepare the custard and ganache as directed for the same delicious result. Boston Cream CupcakesTransform the recipe into cupcakes. Fill each with custard and top with ganache for a portable treat. Fruity LayersConsider adding a layer of sliced strawberries or raspberry jam for an unexpected twist. Troubleshooting Common Issues:
- Dry Cake Layers: Measure ingredients accurately and avoid overbaking.
- Runny Custard: Ensure the custard cooks long enough to thicken.
- Ganache Separation: Stir gently to ensure the chocolate and cream combine properly.

