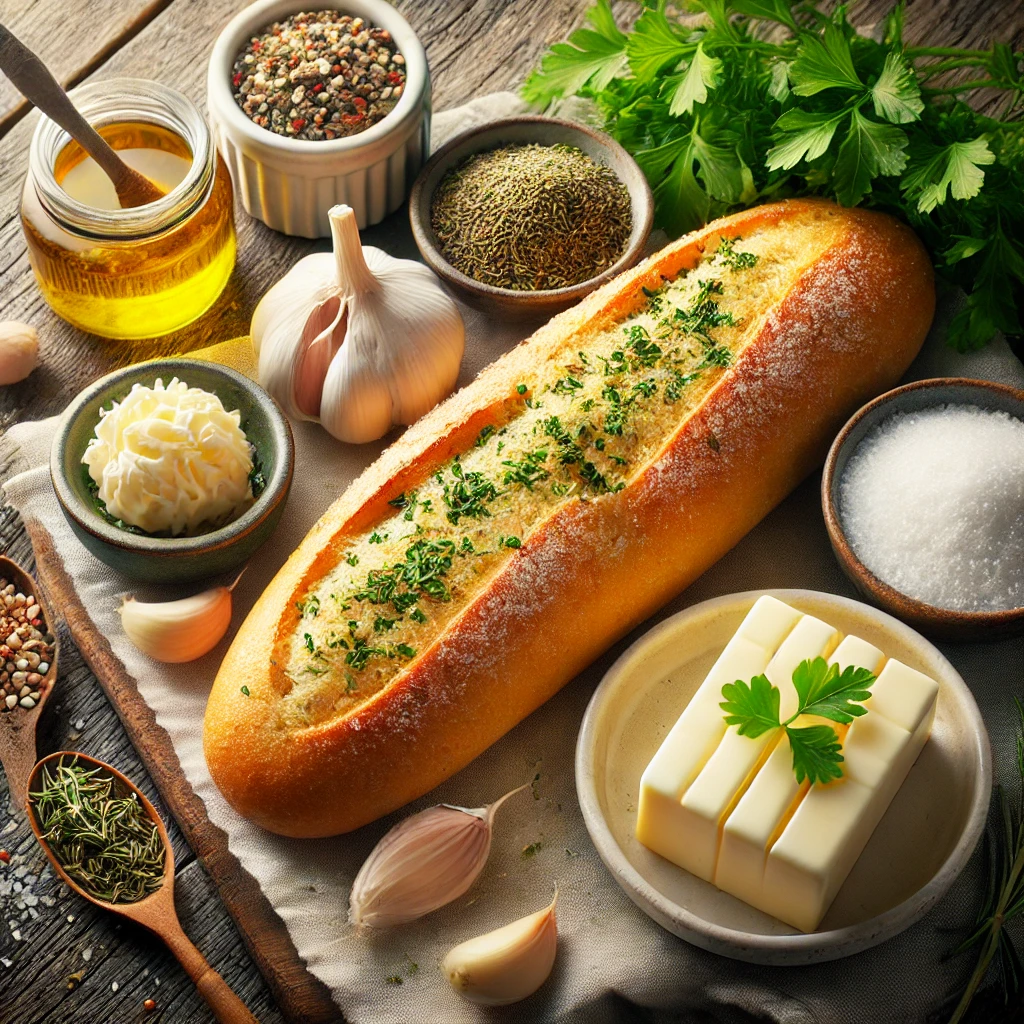
Garlic bread is a timeless side that perfectly complements pasta, soups, salads, or just about any meal. The crispy edges, soft center, and irresistible aroma of garlic and butter make it a must-have for any table. But if you’re looking for a faster and more convenient way to prepare it, the air fryer becomes your best friend. With its quick cook time and even heat distribution, you’ll achieve the perfect crispy garlic bread in a matter of minutes. Let’s dive into how to make the ultimate garlic bread in an air fryer!
Why Make Garlic Bread in an Air Fryer?
When you cook garlic bread in the air fryer, you’ll achieve the perfect balance of crispiness and softness without the wait. Traditional oven methods often take longer to preheat and cook. The air fryer, however, heats up almost instantly and cooks the bread in a fraction of the time. Plus, the compact space of the air fryer ensures even cooking, so you won’t end up with soggy or overly crisp spots. It’s a win-win for anyone craving quick, delicious garlic bread.
Ingredients You’ll Need
To make the best garlic bread, gather the following ingredients:
- 1 loaf of French bread or baguette (you can also use any crusty bread of your choice)
- 4 tablespoons of unsalted butter, softened
- 2-3 cloves of garlic, minced (fresh garlic gives the best flavor)
- 1 teaspoon dried oregano
- 1 teaspoon dried parsley (fresh parsley works too for a bright, fresh taste)
- 1/4 teaspoon salt
- 1/4 cup grated Parmesan cheese (optional for a cheesy twist)

Step-by-Step Instructions
1. Prepare the Bread
Start by slicing your loaf of bread into even slices. For French bread or a baguette, cut the bread diagonally into 1-inch slices. This will allow each piece to have enough surface area to hold the garlic butter mixture. If you’re using another type of bread, like ciabatta, slice it into even pieces to ensure each one crisps up properly in the air fryer.
2. Make the Garlic Butter Mixture
In a small bowl, combine the softened unsalted butter, minced garlic, dried oregano, dried parsley, and salt. If you want a cheesy garlic bread, add the grated Parmesan to the mixture. Mix everything until the herbs and garlic are evenly distributed throughout the butter. This will ensure that every bite of your garlic bread is packed with flavor.
3. Spread the Butter Mixture
Using a butter knife or a small spoon, generously spread the garlic butter mixture on each slice of bread. Make sure to cover the surface completely, all the way to the edges, for maximum flavor. If you prefer a richer taste, you can add a little extra butter, but be mindful of how much you use, as it could drip off and make the bread soggy.
4. Preheat the Air Fryer
Preheat your air fryer to 350°F (175°C) for about 2-3 minutes. Preheating helps the bread cook evenly and ensures that you get that perfect crispy texture. While preheating isn’t always necessary for every recipe, it’s essential for getting that iconic golden crust on garlic bread.
5. Arrange the Bread in the Air Fryer Basket
Place the bread slices in the air fryer basket in a single layer. Make sure not to overcrowd the basket; the air fryer needs enough space for the hot air to circulate and cook the bread evenly. Depending on the size of your air fryer, you may need to cook the bread in batches. If you have extra slices, set them aside and cook them separately.
6. Cook the Garlic Bread
Set the air fryer to cook at 350°F (175°C) for 4-5 minutes. The exact time may vary depending on your air fryer model and the thickness of the bread. Keep a close eye on the bread during the last minute of cooking to prevent it from burning. You’ll know it’s ready when the edges turn golden brown and the butter is bubbling.
7. Add a Cheesy Touch (Optional)
For those who love cheesy garlic bread, you can sprinkle a bit more grated Parmesan or mozzarella cheese on the bread during the last minute of cooking. The cheese will melt quickly in the hot air fryer, creating a delicious, cheesy crust that pairs perfectly with the garlic butter.
8. Remove and Serve Immediately
Carefully remove the garlic bread slices from the air fryer using tongs. They will be hot, and the butter may still be sizzling. Transfer them to a serving platter and sprinkle with some fresh parsley for a pop of color and added freshness. Serve the garlic bread immediately while it’s hot and crispy. Pair it with your favorite pasta, soup, or enjoy it on its own as a savory snack.
Tips for Perfect Air Fryer Garlic Bread
- Use Fresh Garlic: Freshly minced garlic offers a more intense and aromatic flavor than pre-minced versions. It makes a big difference in the overall taste.
- Experiment with Herbs: While oregano and parsley are classic choices, you can customize your garlic bread with herbs like thyme, rosemary, or even basil for a unique twist.
- Control the Cook Time: Air fryers vary in cooking speed and intensity, so keep a close watch on the bread during the last minute of cooking to prevent it from over-browning.
- Try a Garlic Infused Oil: If you want an even easier option, you can brush the bread with garlic-infused olive oil instead of butter for a lighter version.
Variations You Can Try
1. Cheesy Garlic Bread
If you’re a cheese lover, this variation is for you. Before placing the bread slices in the air fryer, sprinkle them generously with shredded mozzarella, cheddar, or a mix of your favorite cheeses. Cook as instructed, and enjoy the gooey, cheesy goodness.
2. Spicy Garlic Bread
For a little heat, add a pinch of red pepper flakes or chili powder to the garlic butter mixture before spreading it on the bread. The spice will add a nice kick that pairs beautifully with the rich garlic flavor.
3. Herb and Garlic Bread
Go all out with fresh herbs like basil, thyme, or rosemary. Mix these finely chopped herbs into the garlic butter for a vibrant, aromatic twist that takes your garlic bread to the next level.
Why Air Fryer Garlic Bread Is a Must-Try
This air fryer garlic bread not only saves you time but also provides an unbeatable crispiness that’s hard to achieve with traditional methods. The air fryer circulates heat rapidly, creating a crispy outer crust while keeping the center soft and tender. Plus, the minimal prep and cook time make it perfect for busy evenings or last-minute additions to your meal.
By choosing to make garlic bread at home, you can control the ingredients, ensuring you get a fresher and healthier option compared to store-bought versions. Whether you opt for classic garlic butter, add a cheesy twist, or spice it up, this air fryer recipe offers versatility and flavor in every bite.
Try It Tonight!
Garlic bread doesn’t have to be a complicated or time-consuming side dish. With the air fryer, you’ll have perfectly crispy and garlicky bread in minutes, making it the ideal accompaniment for any meal. Try this simple and delicious recipe tonight, and you’ll never go back to the oven method again!

