Easy Minecraft Cake: A Fun and Delicious Treat for Every Minecraft Fan
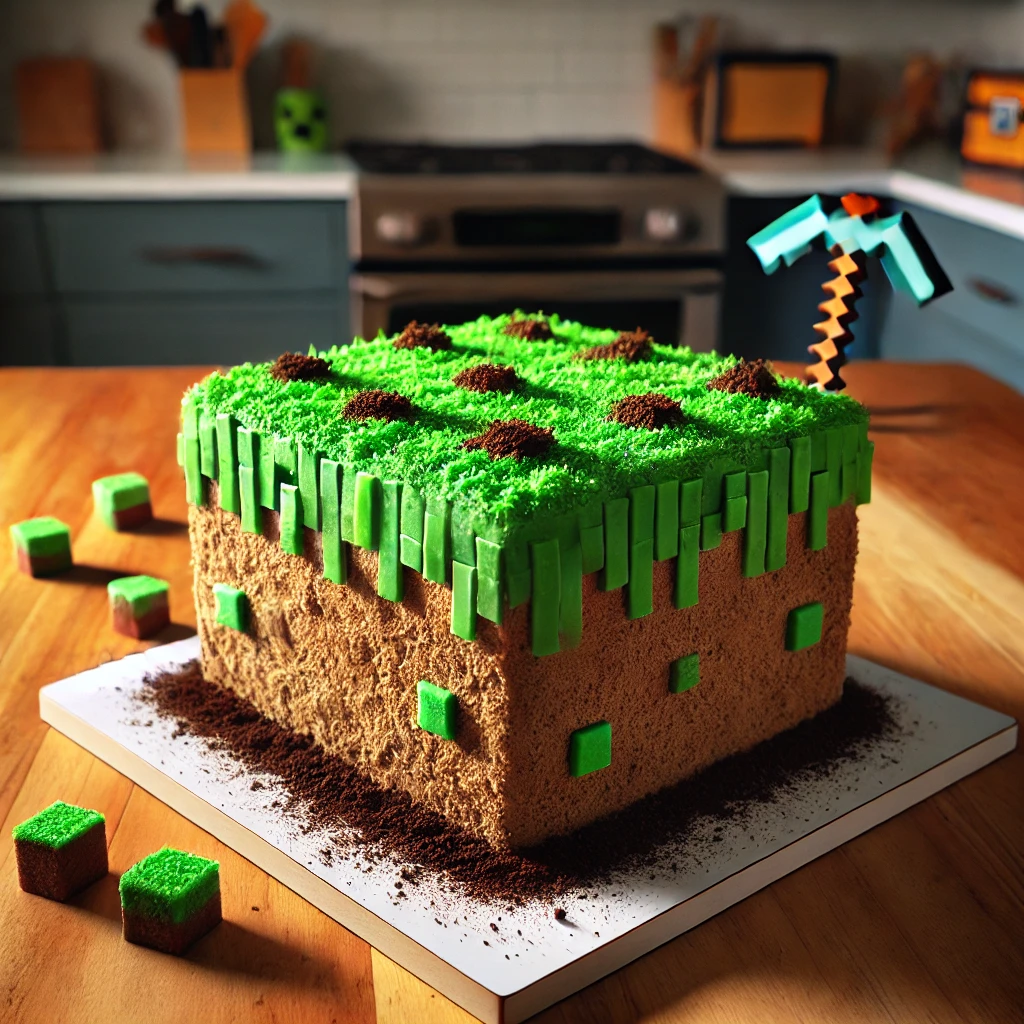
Minecraft has captured the imagination of fans young and old, and what better way to celebrate a Minecraft-themed event than with an Easy Minecraft Cake? The cake brings the iconic blocky style of the game to life, featuring vibrant colors and simple decorations that even beginners can master. Whether it’s for a birthday or just a fun baking project, this cake adds excitement to any occasion. Let’s dive into the step-by-step process for creating your own Minecraft cake that tastes as good as it looks!
Why Make a Minecraft Cake?
A Minecraft cake brings the game’s pixelated world into reality in a way that’s both fun and tasty. It allows for creativity, letting you customize the cake’s design based on your favorite Minecraft elements, like the iconic grass block. Whether you’re crafting it for a themed party or just want to surprise a fan, it’s a surefire hit. Plus, making it at home gives you the freedom to use your preferred flavors and decorations while still capturing the essence of the game.
Ingredients You’ll Need
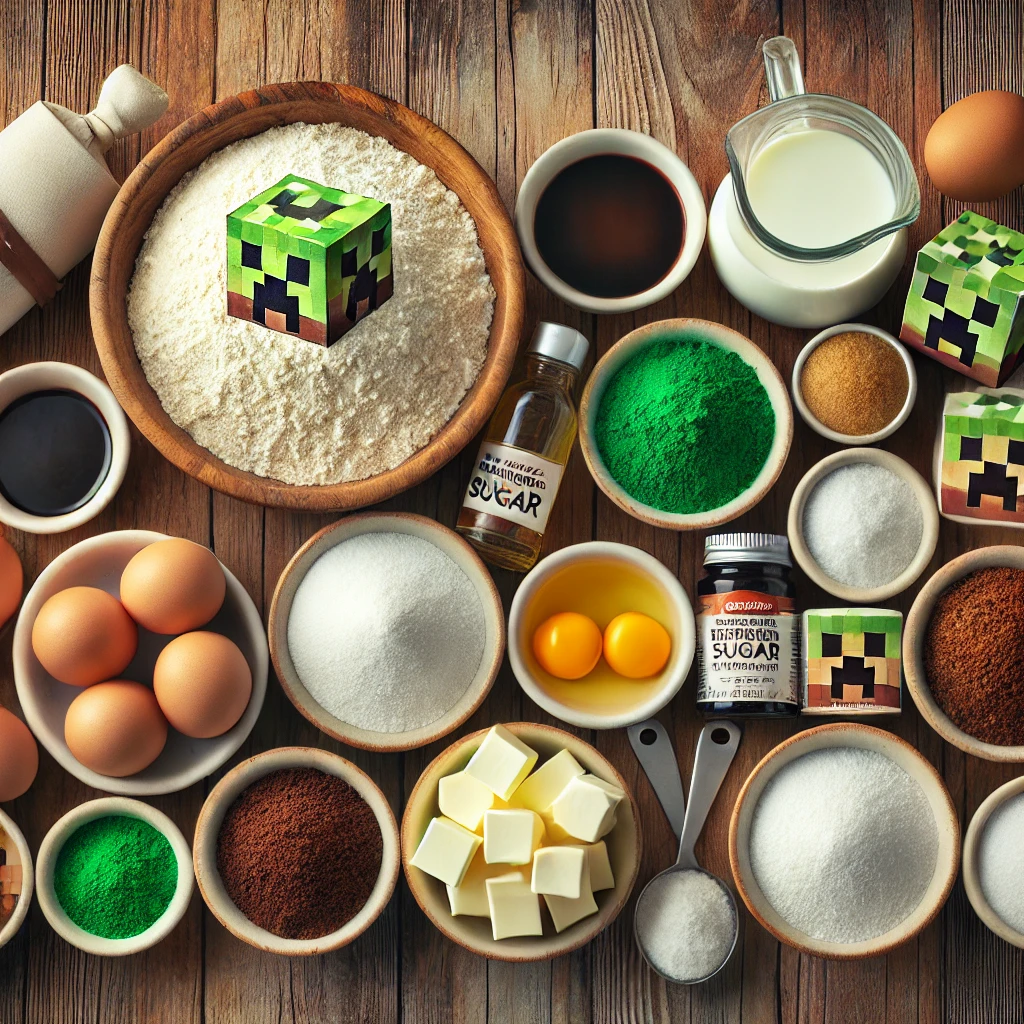
To create this Minecraft-inspired cake, gather the following ingredients:
Starting with the Cake:
- 2 cups all-purpose flour
- 1 1/2 cups granulated sugar
- 1/2 cup unsalted butter, softened
- 1/2 cup vegetable oil
- 3 large eggs
- 1 cup milk
- 1 tablespoon vanilla extract
- 1 teaspoon baking powder
- 1/2 teaspoon baking soda
- 1/2 teaspoon salt
- Green food coloring (for grass effect)
- Cocoa powder (optional for a chocolate variation)
For the Frosting:
- 8 ounces cream cheese, softened
- 1/2 cup unsalted butter, softened
- 4 cups powdered sugar
- 2 teaspoons vanilla extract
- Green gel food coloring (for the grass)
- Brown food coloring or cocoa powder (for the dirt layer)

For Decoration:
- Green sprinkles (optional for texture)
- Chocolate squares or wafer cookies (for the dirt effect)
Step-by-Step Instructions
1. Prepare the Cake Batter
Begin by preheating your oven to 350°F (175°C). Grease and line two 9-inch square cake pans with parchment paper to prevent sticking. Use square pans to mimic the blocky style of Minecraft and make decorating easier.
In a large mixing bowl, cream the softened butter, vegetable oil, and granulated sugar together until light and fluffy. This step creates a smooth texture and incorporates air into the batter. Add the eggs one at a time, mixing well after each addition. Stir in the vanilla extract.
In a separate bowl, whisk the flour, baking powder, baking soda, and salt together. Gradually add the dry ingredients to the butter mixture, alternating with the milk. Mix until just combined. If you want a chocolate cake base, add a couple of tablespoons of cocoa powder for a richer flavor. Avoid overmixing the batter, as this can affect the cake’s texture.
Add a few drops of green food coloring to the batter to create the grass effect. Stir until the color is evenly distributed and reaches your desired shade.
2. Bake the Cake
Pour the batter into the prepared square pans. Smooth the tops with a spatula for an even surface, ensuring the cakes bake evenly. Bake the cakes for about 25-30 minutes, or until a toothpick inserted into the center comes out clean.
Remove the cakes from the oven and allow them to cool in the pans for 10 minutes. Transfer the cakes to a wire rack and let them cool completely before frosting. Letting the cakes cool fully is crucial, as frosting a warm cake can cause the frosting to melt.
3. Make the Frosting
In a large mixing bowl, beat the softened cream cheese and butter together until smooth and creamy. Gradually add the powdered sugar, one cup at a time, and continue mixing until you achieve a thick, fluffy consistency. Stir in the vanilla extract.
Divide the frosting into two portions. Add green gel food coloring to one half, mixing until the color resembles Minecraft grass. Use brown food coloring or cocoa powder for the other half to create the dirt layer.
4. Assemble the Cake
Place the first cake layer on a square cake board or serving platter. Spread a layer of the brown frosting on top, covering it evenly to create the “dirt” base. Place the second cake layer on top, aligning the edges carefully to maintain the square shape.
Frost the sides of the cake with the brown frosting, ensuring a smooth finish. This step forms the dirt layer that will act as the base for the grass. If you want a more textured look, press wafer cookies or chocolate squares along the bottom edges to mimic the dirt blocks.
Next, spread the green frosting on the top of the cake to create the grass effect. For added texture, use a piping bag fitted with a grass tip or a spatula to create small spikes. Sprinkle green sprinkles over the top for extra texture and detail, giving it a realistic look.
5. Decorate the Cake
Now it’s time to make your Minecraft cake truly stand out. Arrange chocolate squares or wafer cookies around the base of the cake for added texture and to enhance the pixelated effect. These decorations will create the appearance of dirt blocks beneath the grass.
If you want to go further, add edible Minecraft character toppers or candy blocks that mimic other elements from the game. You can also create small green grass patches using additional frosting or sprinkles for a more detailed look.
Tips for the Best Minecraft Cake
- Use Gel Food Coloring: Gel food coloring gives a more vibrant hue without thinning out the batter or frosting, ensuring the colors remain bright and vivid.
- Go for Square Pans: Square cake pans create the classic blocky Minecraft look, making it easier to achieve the game’s iconic aesthetic.
- Chill the Frosting: For easier application, chill the frosting for 10-15 minutes before using it. This step makes spreading and piping much more manageable.

